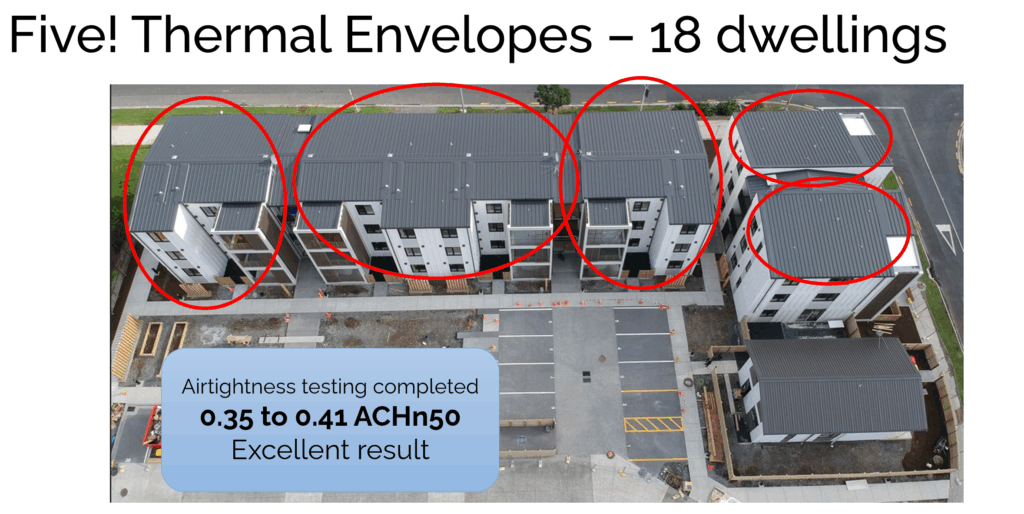
If you are working on a project with multiple thermal envelopes—even if they are just separated by breezeways—you need to remember the ground rules. Separate thermal envelopes imply separate PHPPs, separate certificate IDs, and therefore, separate projects on the Certification Platform. In the Figure below you can see that Bader Ventura was actually five separate PHPP files due to the open staircases / breezeways.
However, nobody wants to upload the same window data sheet ten times. I certainly don’t want to download it ten times. If the buildings are identical or very similar (same assemblies, same components), we can reduce the workload significantly by designating a Prototype.
The Workflow To avoid reinventing the wheel, identify the primary building and follow the usual full workflow on the platform. Let’s call this the Prototype. For the remaining “copy” buildings, you only need to focus on the deviating documents.
1. Naming Matters Make it obvious which project holds the master data. Use a naming convention like this:
- Project XpertHaus (Prototype South Bldg)
- Project XpertHaus (North Bldg)
2. What to Upload The Certifier creates a project on the platform for each copy building.
- For the Copy: The PH Designer submits only the documentation that differs from the prototype. This is usually the PHPP file, the designPH model, and the specific shading situation.
- For the Identical Stuff: For building assemblies, component qualities, or anything that matches the Prototype exactly, do not re-upload the files. Instead, write a comment in the respective category with a link to the Prototype building’s project on the platform.
The Catch To use this streamlined method, the Designer and Certifier must be the same for all buildings.
Don’t do stupid stuff like uploading duplicate data unnecessarily. Use the Prototype method, keep the platform clean, and save yourself hours of administrative pain.